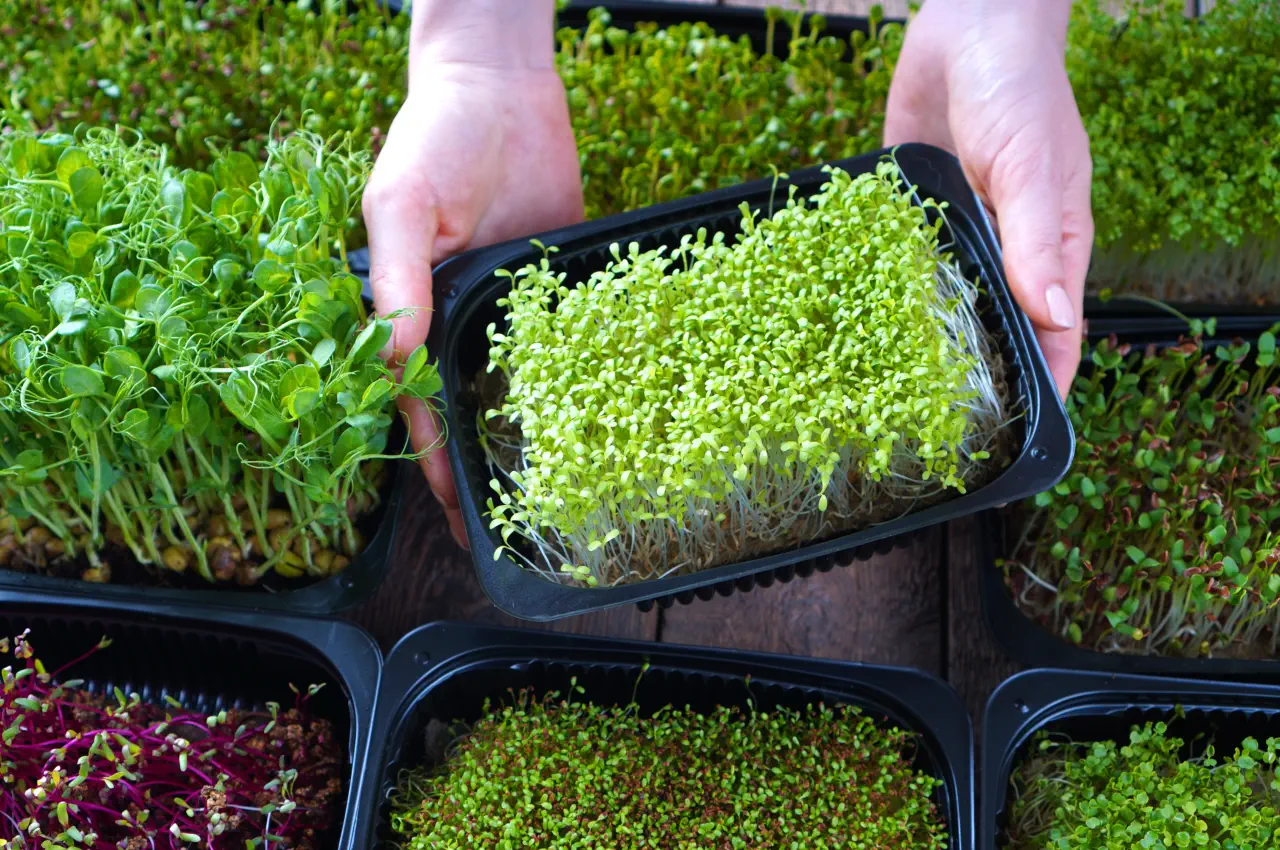
Do you fancy growing microgreens at home? But not sure where to start? In this simple step by step guide we’ll cover everything from choosing the right seeds to harvesting your greens.
Quick Facts
Start with the essentials: good seeds, good soil and good trays for drainage.
Get at least 4 hours of strong light a day and keep the soil consistently moist for healthy growth.
Harvest when they are 1-3 inches tall and store in airtight containers for maximum freshness and flavour.
What are Microgreens?
Microgreens are baby plants in their early stages. They are harvested after the first set of leaves have developed. There's a whole host of varieties such as arugula, broccoli, kale & beets etc.
Microgreens are packed with vitamins E, C & K and other nutrients such as iron, zinc and potassium - they are also high in antioxidants. All which aid many health conditions and can reduce the risk of heart disease etc.
Essentials for Growing Microgreens
To start growing microgreens you need seeds, soil, water and trays. These basics are necessary for healthy growth.
Choosing the right seeds and trays for drainage and a good growing medium is key to successful microgreen growing.
Choosing the Right Seeds
The first step is to choose the right seeds. While mature plant seeds will work, microgreen seeds are usually sold in larger quantities and marketed for this purpose. Radish, sunflower and salad greens are popular varieties that are easy to grow and taste great.
Get your seeds from a good supplier to ensure quality. Arugula, broccoli, cilantro and radish are easy to grow and perfect for beginners. Avoid nightshade family seeds as they are not suitable for microgreens.
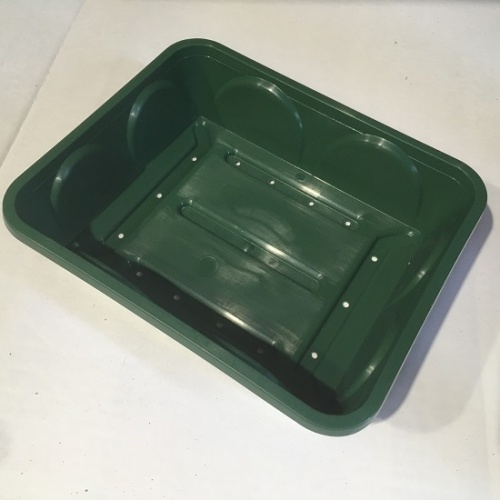
Choosing the Right Trays
Wide shallow trays like plastic take out dishes or disposable pie plates are perfect for microgreens. One tray with drainage holes and one without will give you the best watering conditions.
For containers without drainage holes, poke a few holes in the bottom to prevent roots from sitting in water and to maintain soil moisture levels.
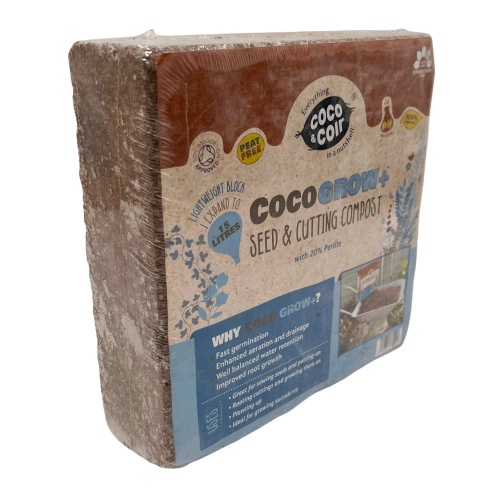
Best Growing Mediums
Choosing the right growing medium is key. Some options include organic seed starting mix or coco coir, both are good effective bases. Eco-Co® Coir Seed Starting Mix is a good alternative to potting soil.
You could also use unbleached organic paper towels as a mess free growing method. Whatever medium you choose make sure it’s moist and prepared well for optimal growth.
Preparing Your Growing Space
Microgreens require minimal space and can be grown on a kitchen windowsill. A square foot of counter space is usually enough, so it’s easy to grow microgreens indoors and grow microgreens indoors for urban dwellers.
Open a window every now and then to get some air circulation and prevent mould. Be sure to clean and dry containers before use by washing them with hot water and mild detergent.
Let’s get into the nitty gritty of setting up your trays and lighting.
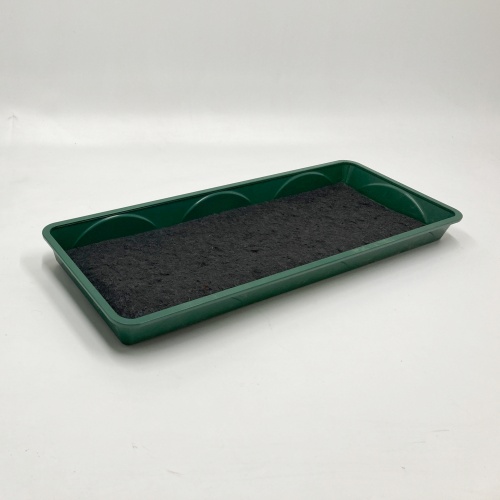
Setting Up Trays and Soil
Prepare your trays, go for wide shallow ones for better growth conditions. Recycled containers like margarine tubs or coffee cups work well. Wash them in hot soapy water to clean them.
Choose your growing medium, organic seed starting mix is a good option. Moisten it according to instructions, not too wet not too dry. Spread the seeds evenly across the surface for uniform growth.
Lighting
It's possible to grow microgreens indoors, outdoors or in a greenhouse- all dependant on the time of year.
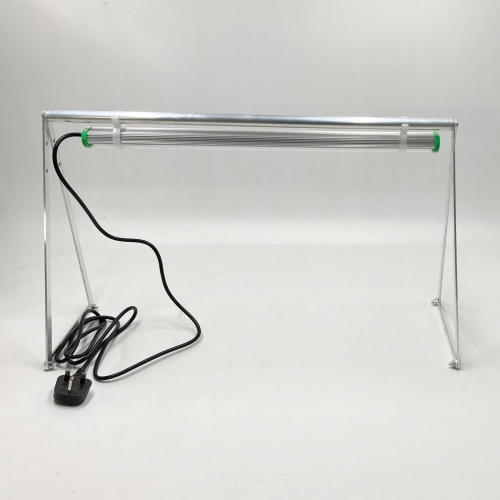
Microgreens need at least 4 hours of strong direct light daily for photosynthesis. Natural light from a south facing window is ideal however, artificial grow lights will give you consistent and reliable results.
Position the light sources close to your microgreens to promote growth. Use a timer to automate the light cycles and give them 12 hours of light daily for optimal conditions.
In the winter months a window sill is best, Autumn & spring would suit a window sill or a greenhouse and in the summer months some varieties can be grown outdoors- weather dependant.
Planting Microgreens
Planting microgreens is easy but requires attention to detail. Soak the seeds overnight to improve germination, follow the soaking instructions on the seed package to grow microgreens.
After soaking, spread the seeds evenly over the growing medium so each plant has enough space and nutrients.
Seeding Methods
Spread the seeds evenly across the entire tray for uniform growth. Or spread them on a damp paper towel and then transfer to the tray.
Start by listing some forbidden forms of the keyword “sunflower seeds” according to rule 5. Use measuring tools like scales, cups or spoons to calculate the right amount of germinated seeds per tray. Soak larger seeds like sunflower seeds or peas overnight to improve germination rates. Make sure the growing medium is moist before planting.
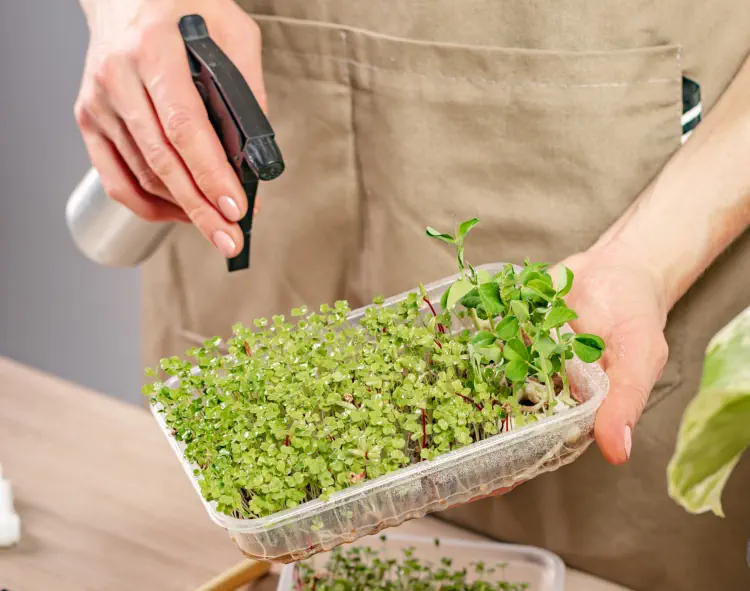
First Watering and Coverage
Keep the seeds moist after planting by misting them with a spray bottle. This is especially important in the first few days as seeds take up to 5 days to sprout.
Microgreens need initial germination in darkness. Cover the tray with a lid or dark cloth until seeds germinate. Once they sprout remove the cover and let them get some light.
Caring for Microgreens
Daily care is required to grow healthy microgreens with regular watering 1-2 times a day or misting with a spray water bottle will maintain soil moisture which is key to success.
Bottom end watering helps to get rid of excess moisture on the leaves. This can be done by placing your tray in a larger tray of water, so they can slowly absorb the water through the drainage holes at the bottom of the container.
Soil Moisture
Keep the growing medium moist but not too wet to prevent seed rot. Mist microgreens with water once or twice a day.
Watch for wilting caused by underwatering or overly wet soil can cause seed rot too. Use trays with drainage holes to maintain soil moisture.
Preventing Mould and Pests
To prevent mould developing in microgreens you should not over water which can cause overly humid conditions. Good air circulation is key to preventing bacterial growth.
Open windows or using a fan can boost air circulation and keep microgreens healthy. Check for mould or pests and act fast if needed.
Harvesting Microgreens
Microgreens are ready to harvest in 5-21 days depending on the variety. Most don’t regrow after cutting but some do if cut properly and given the right conditions. Check for instructions on seed packaging.
Staggered harvests helps to keep microgreens fresh.
Harvest Time
You should harvest microgreens when they are approximately 1-3 inches tall for maximum nutrition and flavour. Check your microgreens regularly to determine the best harvest time.
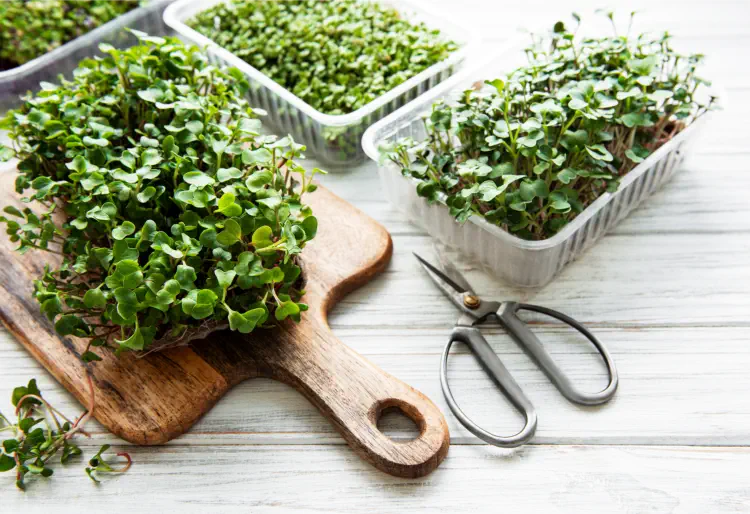
Harvesting Methods
Cut microgreens above the soil line with clean, sharp scissors or a knife. Rinse and dry with paper towels or a salad spinner.
Eat washed microgreens immediately for maximum flavor and nutrients.
Storing and Using Microgreens
Proper storage is key to keeping them fresh. Store freshly harvested microgreens in airtight containers with paper towels to absorb excess moisture.
Refrigerate for up to 10-12 days.
Storage
Use an airtight container with dry paper towels between layers to absorb excess moisture and keep microgreens fresh longer.
Store microgreens in a cool dry place as soon as you harvest for maximum freshness.
Culinary Uses
Microgreens are a versatile way to add some colour and texture to soups, salads, sandwiches and main dishes with their intense flavour like mature vegetables.
Despite their micro size, they pack some punch with their concentrated flavours.
Conclusion
Growing microgreens at home is easy and fun. From choosing the right seeds and trays to caring and harvesting your microgreens, every step matters.
Enjoy your microgreen journey, happy growing!
FAQ
How much space do I need to grow microgreens?
- You only need a small space such as a windowsill or a square foot of counter space to grow microgreens. Start now and watch them grow!
What are the easiest microgreens for beginners?
- If you’re new to growing microgreens, you can’t go wrong with arugula, broccoli, cilantro and radish—these microgreens are easy and fun to grow!
How often should I water my microgreens?
- Water your microgreens once or twice a day by misting them with a spray bottle to keep them healthy and happy. Consistency is key!
Can I use any seeds to grow microgreens?
- Yes, you can use any seeds to grow microgreens but for best results use seeds specifically marketed for microgreens. This small step ensures a better and more vibrant harvest that will likely produce good microgreens.
Store harvested microgreens
- Store microgreens in airtight containers with paper towel layers in the fridge to keep them fresh longer.