You've nurtured your garlic plants through the seasons, and now you're wondering when it's the right time to harvest. It's important to watch for the telltale signs: about one-third of the leaves should have yellowed, and the scapes might be curling. This usually happens in late spring or early summer, depending on your location. Are you confident in your ability to recognise these signs? If not, you might find that there's a bit more to uncover about harvesting garlic....
Identifying when garlic is ready to harvest
How can you tell when your garlic is ready to be harvested? Several indicators can guide you in making this decision precisely.
First, observe the leaf yellowing. Typically, garlic is ready for harvest when approximately one-third to one-half of the leaves have turned yellow, starting from the bottom. This yellowing is a sign of maturation and shouldn't be confused with yellowing due to over-watering or disease.
Next, take into account the soil texture around your garlic plants. Garlic thrives best in loose, well-drained soil. Compacted or clay-heavy soils may alter the typical harvesting signals, such as delayed yellowing or restricted root growth, which can affect the timing of your harvest.
Plant height also provides clues. Generally, the garlic plant reaches a height of 18 to 24 inches when it's mature. If your plants are within this range and showing other signs of readiness, it's likely time to contemplate harvesting.
Examine the scape appearance; the scape is the tall stalk that emerges from the bulb. In hardneck garlic varieties, the scape will coil or form a loop. When this scape begins to straighten, it's an indicator that the bulbs are nearing full maturity.
Lastly, check the root condition. Healthy roots that are starting to lose their fibrous texture and are slightly shriveled often indicate that the garlic bulbs have stored enough nutrients and are ready for harvest.
Checking Bulb Size
After evaluating the plant's maturity as previously described, you should next assess the bulb size by gently unearthing a few bulbs to make sure they've developed to a best diameter. Minimal soil disturbance is important during this process to avoid damaging the root system which is essential for the bulb's final stages of development. Use a hand trowel to carefully loosen the soil around the plant, taking care not to sever any roots.
When you've exposed the bulb, measure its diameter. Ideal bulb size varies, but generally, a diameter of at least 5 centimeters indicates maturity, depending on the garlic variety. If the bulbs are undersized, they may need more time in the soil, provided the growth cycle allows.
Next, inspect the foliage as it often correlates with bulb development. Healthy, mostly green leaves with a few starting to yellow at the bottom suggest active growth and good health, while extensive yellowing or browning might indicate a halt in growth or poor root development.
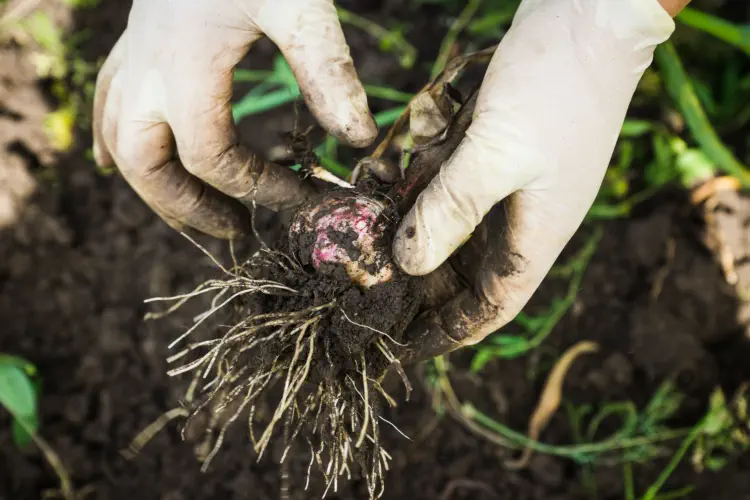
Consider the moisture influence in your garlic bed. Excessive moisture can impede bulb growth and affect root health, leading to stunted or malformed bulbs. Conversely, too little moisture can halt bulb expansion. Check the soil moisture by feeling the soil near the roots—it should be moist, but not waterlogged.
If the majority of bulbs aren't up to size, continue monitoring and adjust your watering practices according to the soil's moisture levels and the plant's needs.
The Importance of Climate Conditions for harvesting
Understanding the impact of climate conditions on the harvesting of garlic is essential, as temperature and humidity levels directly influence bulb quality and storage life. You must consider how these factors affect the physiological development of garlic bulbs during the growing season and determine the best harvest time.
Temperature impact is significant, as garlic requires a specific range to develop fully. Ideal temperatures for bulb formation typically fall between 13°C and 24°C. Excessive heat can cause premature bulb splitting, decreasing storage quality. In contrast, harvesting in cooler temperatures may lead to incomplete bulb development, reducing yield and marketability.
Humidity levels also play an important role. High humidity can promote fungal diseases such as white rot and botrytis, which deteriorate bulbs during storage. You should aim for dryer conditions around harvest time to minimise these risks and improve drying and curing processes post-harvest.
Regional variations necessitate tailored approaches. Garlic grown in wetter climates may require enhanced soil drainage practices to combat excess moisture and prevent fungal infections. This can be addressed by incorporating organic matter into the soil or using raised beds.
Seasonal timing is equally important. Garlic typically matures in late spring or early summer in most temperate regions. Monitoring soil temperature and moisture levels can help you determine the precise timing for harvesting, ensuring bulbs are neither under nor over-mature.
Harvesting Your Garlic Bulbs
Begin by evaluating the readiness of your garlic plants.
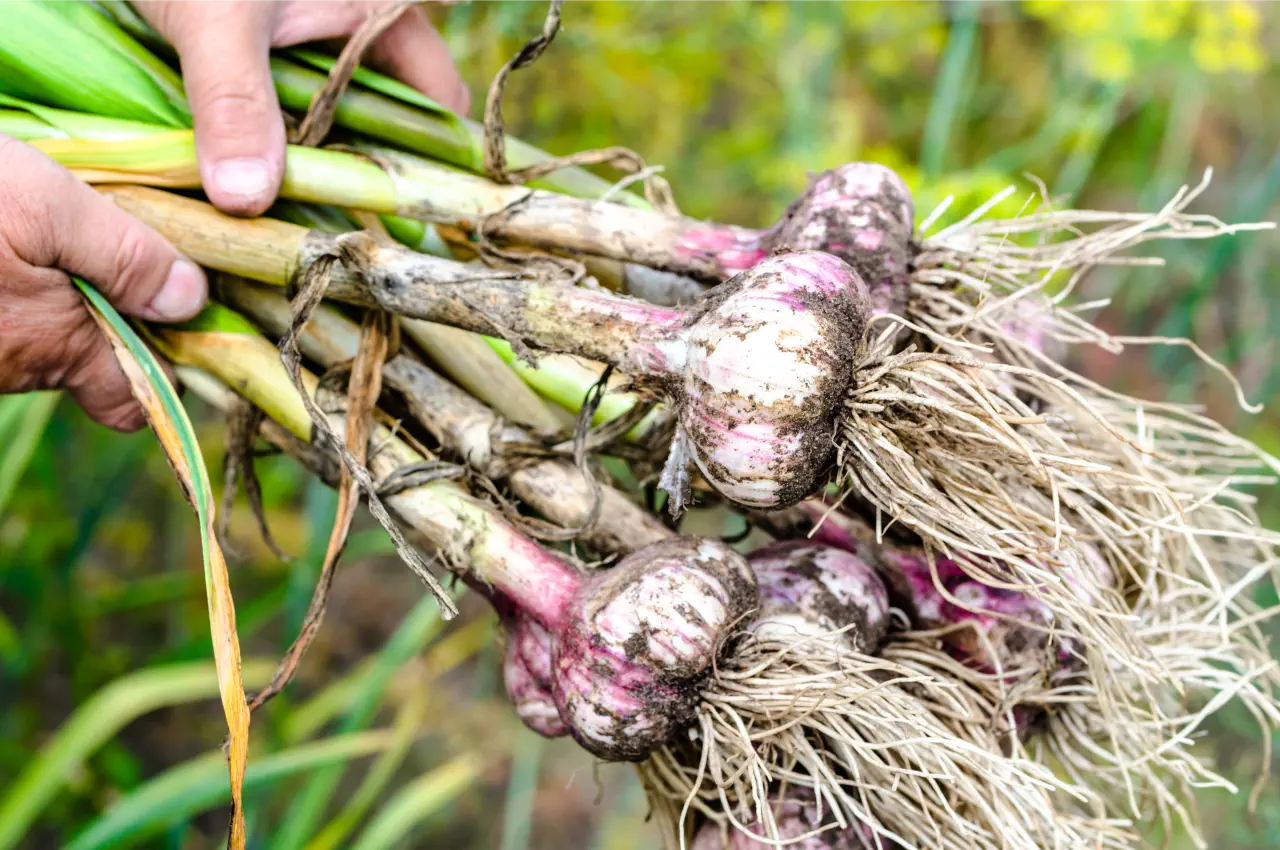
Before you start the physical harvesting, make sure thorough soil preparation. Loosen the soil around the plants to facilitate gentle extraction, thereby minimizing damage to the bulbs. Use a garden fork to lift the bulbs from the soil gently instead of pulling them, which can cause tearing or bruising.
Garlic scapes removal is another important aspect to take into account. If you haven't already done so, remove the scapes to direct the plant's energy towards bulb growth, enhancing overall size and quality. This should be done a few weeks before you plan to harvest.
Once harvested, immediate post-harvest treatment is vital to maintain quality. Gently brush off any soil clinging to the bulbs, and avoid washing them as moisture can introduce diseases during storage. Be mindful of handling the bulbs carefully during this stage to prevent any bruises that could affect their storage capability.
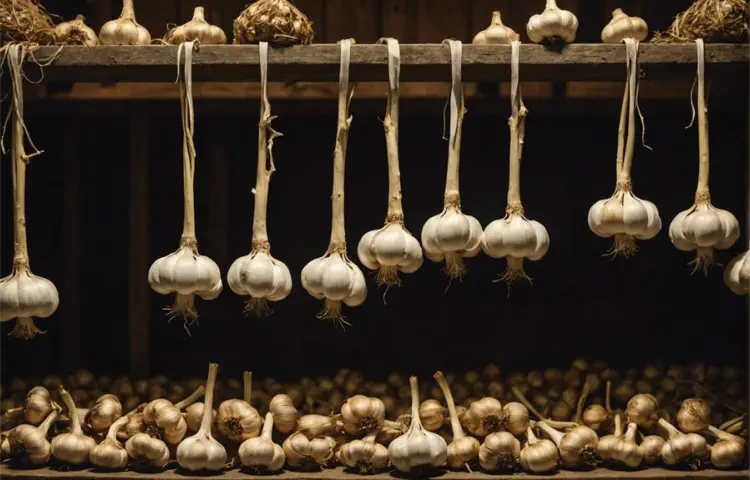
Curing and Storing Garlic
Once you've harvested your garlic, proper curing and storage methods are necessary to guarantee long-term quality and usability. Initially, curing involves drying the garlic in an environment with ideal humidity and temperature. The ideal humidity for curing garlic is between 45-55%, and the temperature should be maintained around 20-25°C. This process typically takes about two to three weeks. During this period, you'll need to make sure there's good air circulation around the bulbs to prevent any fungal growth and to promote uniform drying.
After curing, the next step is proper storage to maintain the garlic's freshness and prevent degradation. The temperature effects are crucial here; store your garlic in a cool, dry place where temperatures range between 0-4°C. These conditions help minimize sprouting and preserve the garlic's potent flavor and nutritional benefits.
Regarding storage containers, breathable options such as mesh bags or loosely woven baskets are ideal. These allow air circulation, which is crucial in preventing moisture accumulation and mold development. Avoid using plastic bags or any non-breathable materials, as these can lead to moisture buildup and potential spoilage.
Frequently Asked Questions
Can Garlic Be Replanted Immediately After Harvesting?
You can replant garlic immediately after harvesting, but it's not ideal. Proper garlic propagation involves preparing the soil, considering climate impact, and understanding harvest cycles.
Post-harvest, focus on bulb curing to enhance storage life and quality. Immediate replanting skips essential steps like soil restoration and can lead to diminished yields.
For best results, analyze soil data and plan your planting schedule to align with the best growing conditions for garlic.
How Does Garlic Variety Affect Flavour and Storage Properties?
The variety of garlic you choose has a significant impact on its flavor and storage properties due to garlic genetics, climate impact, and soil influence.
For instance, hardneck types often offer more complex flavors suitable for varied culinary uses but typically have shorter shelf lives.
In contrast, softneck varieties, favoured for their long storage capabilities, might have milder tastes.
These characteristics also align with specific health benefits, making variety selection essential for your intended use.
Conclusion
To guarantee successful garlic harvests, monitor your plants for key indicators such as leaf yellowing, plant height, and scape coiling. Check the bulb size by gently digging around the roots; aim for at least 5 cm in diameter.
Consider your local climate conditions, as these greatly impact the timing of harvests. Employ proper harvesting techniques to avoid damaging the bulbs.
Finally, cure and store your garlic correctly to maintain its quality and extend shelf life.




Thank you for this very useful information. My allotment is very clay like soil, so the section that mentions different soil types effecting when the garlic may be ready has helped me to be mindful of that fact.